Stapler is a “boot to root” VM hosted on the Vulnhub website. Boot to root challenges are designed for penetration testers and hackers who want to build their skills and have fun at the same time. The goal is to find a way to hack into the virtual machine, get root, and find any and all “flags” on the machine. This is a little different than a traditional pen-test of a network, since we are focused on just one box in isolation. So lets define a few things that will help us on our way to compromising the machine.
- A list of all running services on the machine
- A list of vulnerabilities the machine has (if we can obtain this)
- A list of all the users on the machine (maybe we can find some default credentials)
- General information about the machine
Step 1: Recon / General Information Gathering.
Ping sweep the local network to find the IP address on the machine, once I identified the machine in my lab environment I proceeded with a port scan. I started with a quick scan to identify common ports, and kicked off a full scan which took a little longer (featured below) which also includes service versions.

Here we can see ftp, ssh, http, and mysql are open / running, we can also see a service called “doom” on port 666, amusing, and an apache server on port 12380. Next lets run a basic vulnerability scan using the nmap vulners script; we are going to use this instead of a traditional vulnerability scanner like Nessus since it is free; though in this case vulners didn’t find any explicit vulnerabilities. We’ll dig into each specific service at a later time, right now we are just gathering as much information as we can. Next I’ll try and enumerate any users and general information available on the box using enum4linux; which specifically targets SMB on port 139.

Lets save these user names into a text file and use some magic to break them down into a workable format, they’ll probably come in handy later. “cat users_initial.txt | cut -d ‘' -f2 | cut -d ‘ ‘ -f1 > users.txt”
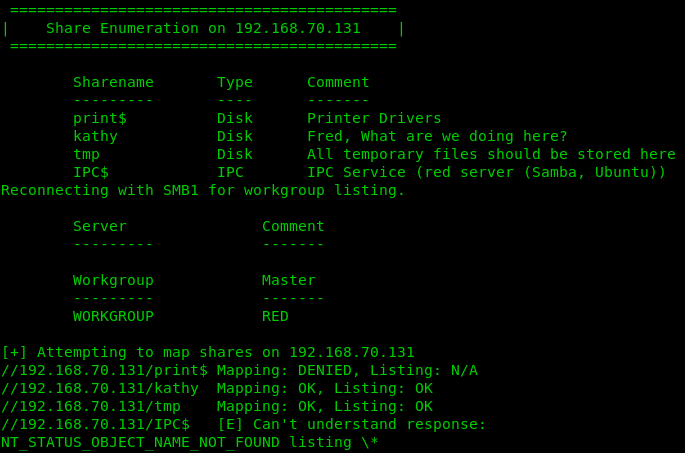
Also using enum4linux we find that there are some connected shares, and a reference to someone named “Fred”, it looks like we can connect to the ‘kathy’ and ‘tmp’ shares. Note that we did not find any specific usernames of Fred or Kathy.
Step 2: Targeted Information Gathering.
Lets start in order by doing a deep dive on each of the discovered services. I know we already cheated a bit by starting with SMB, but the information gleaned there might help us dig into the other services.
Port 21 - FTP
Lets start with FTP since Port 21 is first on the list. We’ll look at trying an anonymous user login and see if that is allowed, then we’ll try and see if any of the accounts are using default passwords or their own usernames as their passwords.

Above we can see that the anonymous login worked, and we get some more cool banner information and notes to other users. So far we have Fred, Elly, John, and Harry in addition to the user list. This is shaping up to be a game of clue. Maybe if we discover Elly’s password we can retrieve the “payload information” mentioned above.
Using BruteX from github, which runs on hydra, I attempted to login to known default user accounts with default credentials. Only anonymous and ftp succeeded; the ftp account contained the same note.

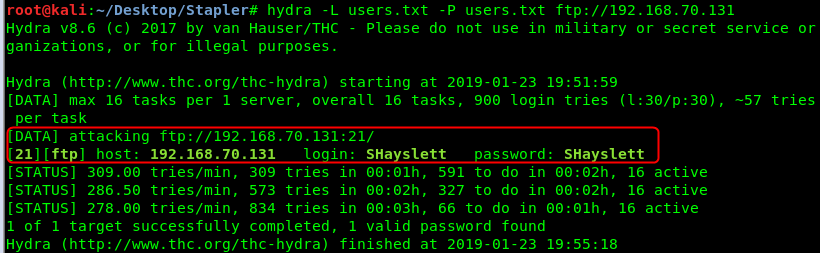
Next lets boot up two sessions of Hydra and try the user list we found earlier against a list of common/default credentials in one session, and the other trying the password as the username. Doing so, we find that one user was using his username as his (or her) password, from there we can try and log into FTP and SSH with this account ‘SHayslett’. The other Hydra scan will take ~18 hours to complete, and since we already have an account credential I’m going to kill that scan for now; I can always revisit it later if needed.
I FTP’d in using the found account but didn’t find any interesting files.
Port 22 - SSH
We can successfully SSH into the system using the credentials found in the previous step; now we have access! This definitely isn’t the intended way to compromise the machine, but lets continue. We can explore the other ways to get onto the box in the absence of a usernames/password later. From here we can either start searching for flag files or move directly to attempting privilege escalation. I ran a few quick commands to see what version of OS I was dealing with.

A quick google search shows this is a 32-bit OS. After checking all of the user directories for potential files I decided to move onto privilege escalation, which required some research since SHayslett isn’t in the sudoers file.
Privilege Escalation
I opened exploitdb (the backend for searchsploit) in a web console and searched specifically for Privilege exploits related to these OS versions, and filtered on only the verified exploits. This helped narrow down the initial list.
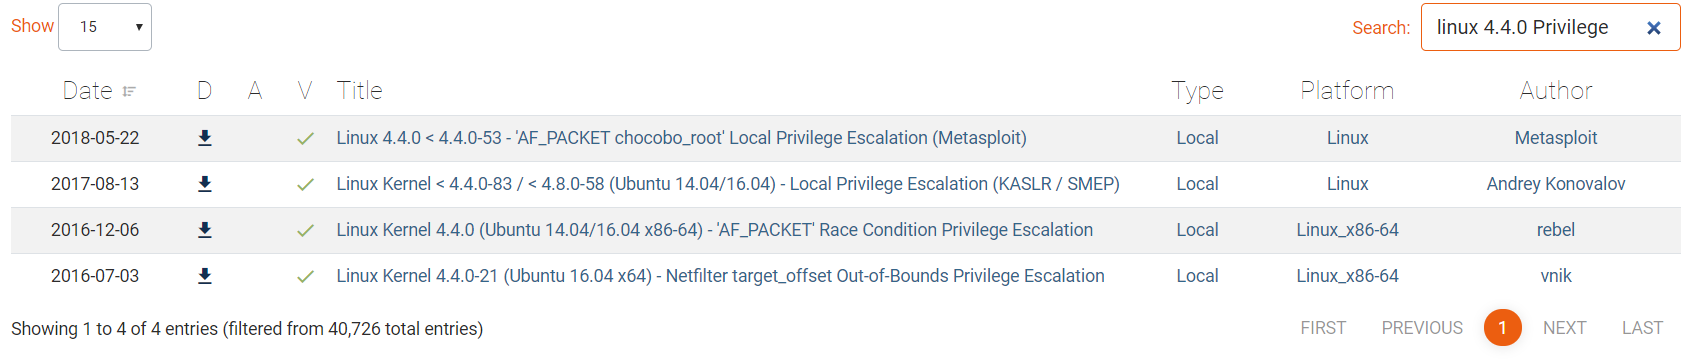

From this list I selected the last exploit, the BPF_PROG_LOAD and viewed the page and did a wget on the mirrored exploit zip file to download it to my Kali box. Unzipped it and read the usage instructions, requiring me to unzip the exploit.tar file and go to town.

Now that it’s unzipped and ready to go, we need a way to get the exploit onto the victim machine, we’re going to pretend that this machine doesn’t have internet access and spin up an http server on our Kali box in order to pull the file down to the vulnerable machine. We’ll use
“python -m SimpleHTTPServer”.
![]()
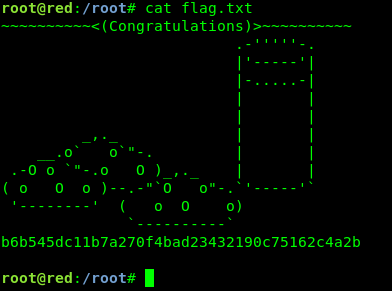
Run the exploit, and get root.

And…..find the flag!